Introduction
Importance of Top Coats for Nails
Top coats play a pivotal role in nail care, serving as the final protective layer that enhances the beauty and longevity of manicures. Their primary advantages include:
- Protection: They shield nails from chips, scratches, and fading, making them indispensable for anyone who enjoys a fresh manicure.
- Finish: A good top coat provides a glossy or matte finish, contributing to the overall aesthetic of nail art.
- Durability: Many top coats are formulated to extend the life of your polish, preventing premature wear and tear.
For many nail enthusiasts, discovering the right top coat can feel like finding a hidden treasure. As one user passionately highlighted, after trying numerous products, Glisten & Glow was the only one that consistently delivered a quick-dry, high-gloss finish.
Brief History of Top Coats in Nail Care
Top coats have evolved significantly over the decades. Initially, nail care focused on basic lacquers, with little attention given to protective layers. However, as nail art gained popularity, so did the innovations in top coats. From quick-dry formulas to long-lasting wear technologies, the development of top coats has significantly transformed manicure routines, catering to various preferences and needs. Ultimately, the journey from rudimentary finishes to today’s advanced products reflects a deeper understanding of nail health and aesthetics. This evolution underscores why choosing the right top coat is crucial for achieving that salon-fresh look at home.
What Makes a Top Coat Great
Characteristics of an Effective Top Coat
An excellent top coat should be a must-have in every nail enthusiast’s toolkit. Here are some essential characteristics that define an effective top coat:
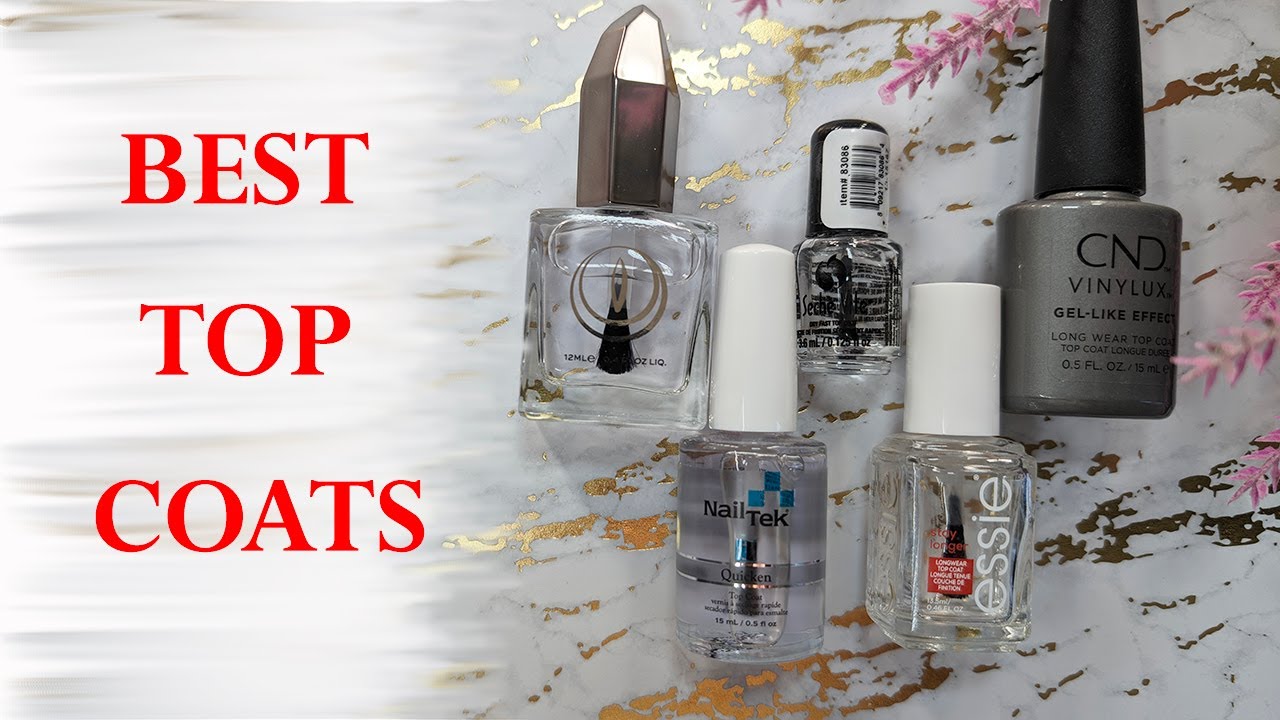
- Fast Drying: Look for formulas that dry quickly, such as Seche Vite, which can have your nails dry within minutes, making it perfect for those on-the-go moments.
- Chip Resistance: A quality top coat will create a barrier that prevents chipping and peeling. For example, CND Vinylux is known for its thicker consistency, providing long-lasting protection for up to eight days.
- Glossy Finish: An ideal top coat enhances the polish underneath, giving it a beautiful, glossy shine or a sleek matte finish, depending on your preference.
- Nourishing Ingredients: Top coats with ingredients like Vitamin E not only protect but also nourish the nails.
Understanding Different Types of Top Coats
Not all top coats are created equal, and understanding the types available can help you choose the right one for your needs:
- Quick-Dry Top Coats: Perfect for busy individuals, these formulas dry rapidly to lock in your manicure without the wait.
- Gel and Hybrid Top Coats: Designed for gel and acrylic polishes, these options provide a salon-quality finish often seen in professional settings.
- Matte Top Coats: If a shiny finish isn’t your style, matte top coats deliver a sophisticated, non-shiny look that’s equally appealing.
- UV Protecting Top Coats: These help prevent fading and yellowing from sun exposure, ensuring your manicure remains vibrant longer.
Choosing the right top coat tailored to your lifestyle will elevate your manicure game to new heights!
Top Coats: The Best in Show for 2024
Top Coat 1: Seche Vite Dry Fast Top Coat
Seche Vite has long been a favorite among nail enthusiasts, and for good reason. This fast-drying top coat boasts several impressive features:
- Quick-Dry Formula: Dries in under five minutes, making it perfect for those on the go.
- High Shine: Provides a glossy finish that rivals gel polishes without the need for a UV lamp.
- Chip Resistance: Its patented formula penetrates through layers, forming a robust bond that protects against chips.
User reviews praise it, with one saying, “Looks so glossy on my nails and dried completely in less than five minutes!”
Top Coat 2: OPI Top Coat
Next up is the beloved OPI Top Coat, a staple in many beauty kits:
- Preventative Formula: This top coat helps prevent smudges and ensures your manicure lasts up to a week.
- Non-Yellowing Properties: Ensures that the finish stays clear, which is ideal for vibrant colors.
- Plumping Effect: Users report that it enhances the look of regular polish, giving a gel-like appearance.
A reviewer enthused, “My new go-to clear polish/topcoat. It plumps regular polish to look more high quality!”
Top Coat 3: Dazzle Dry Top Coat
For those looking for longevity, the Dazzle Dry Top Coat is a game-changer:
- Long-lasting Wear: Keeps nails chip-free for up to ten days, which is exceptional for a traditional polish.
- Eco-Friendly: Free from phthalates and formaldehyde, it cares for both your nails and the environment.
- Fast-Drying: Completely dries within five minutes, allowing you to continue with your day almost immediately.
One user raved, “Love Dazzle Dry; this top coat gives a nice shine and helps the color last even longer.”
With so many great options, finding the right top coat for your needs can elevate your manicure experience to the next level!

Tips for Applying Top Coat Like a Pro
Preparing Your Nails
Before diving into the application of your chosen top coat, it’s essential to prepare your nails properly for that flawless finish:
- Clean and Dry Nails: Ensure your nails are free from oils and dust. A quick rub with nail polish remover can help remove any unwanted residue.
- Buff the Surface: Lightly buff your nails to create a smooth canvas. This not only enhances adhesion but also gives a polished look.
- Base Coat: Always start with a good base coat. This acts as a protective layer, reducing nail staining and helping your polish adhere better.
As one user shared, transitioning from a thick base coat like Sally Hansen’s Double Duty to a suitable base can significantly enhance the longevity of your manicure.
Proper Application Technique
Now that your nails are prepped, it’s time for the technique:
- One Thin Layer: Apply a thin layer of top coat, ensuring the brush doesn’t touch the underlying polish. This prevents dragging and smudging.
- Cap the Free Edge: Gently swipe the top coat over the tip of your nails—this technique, known as “capping,” helps to seal and protect the polish, reducing chips.
- Allow Time to Dry: Give ample time for the top coat to dry completely. For quick-dry formulas like Seche Vite, it can be just a few minutes, but always check to avoid smudges.
With these tips, achieving a professional-looking manicure at home can be easily mastered, leaving you with stunning, chip-free nails!
How to Make Your Top Coat Last Longer
Maintaining Your Manicure
Keeping your manicure looking fresh and chip-free requires some diligent maintenance. Here are a few tips to help you maintain that perfect finish:
- Avoid Hot Water: Try to limit your exposure to hot water immediately after applying your top coat. Hot water can cause the polish to lift and lead to chipping, especially in the case of professional applications.
- Wear Gloves: If you find yourself in a tough or dirty environment—like mining, for instance—wear gloves to protect your nails from chips and dullness. This simple step can make a significant difference in preserving your manicure.
- Moisturize Regularly: Keep your nails and cuticles hydrated with cuticle oil. Not only does this improve the overall appearance, but it can also prevent peeling and breaking.
Extending the Life of Your Top Coat
To truly extend the lifespan of your top coat, consider these practices:
- Reapply Regularly: A quick touch-up every few days can revive shine and protection. Brands like Sally Hansen offer quick-dry options that can easily fit into your routine.
- Thin Layers: When applying both color and top coat, remember that thin layers dry faster and adhere better than thick applications. This prevents lifting and increases durability.
By following these tips, you can enjoy a longer-lasting manicure that withstands the test of time—and your daily life!

Troubleshooting: Common Top Coat Problems and Solutions
Dealing with Smudging
Smudging can be a frustrating issue, especially after spending time perfecting your manicure. Here’s how to combat it:
- Wait for the Polish to Dry: Before applying your top coat, ensure that your base color is fully dry. If the underlying layers are still wet, they will smudge under the top coat.
- Use Quick-Dry Products: Formulas like Seche Vite are designed to dry quickly and prevent smudging; these can save you from unwanted marks on your freshly painted nails.
- Apply a Thinner Layer: Applying a thin top coat layer not only dries faster but also minimizes the risk of smudging. Remember, less is often more when it comes to nail polish!
Preventing Chipping
Chipping can immediately ruin the look of your manicure, particularly for busy hands. To extend the life of your top coat, consider the following strategies:
- Cap the Edges: After applying your top coat, run the brush over the tips of your nails. This technique seals the polish and prevents chips.
- Avoid Using Your Nails as Tools: Be mindful of using your nails to open boxes or perform other tasks that could cause stress. Protecting your nails from undue pressure can significantly reduce chipping.
- Reapply Frequently: A quick touch-up with a thin layer of top coat every few days can keep your manicure looking fresh and help prevent chipping.
By following these troubleshooting tips, you can enjoy a longer-lasting and more perfect manicure!
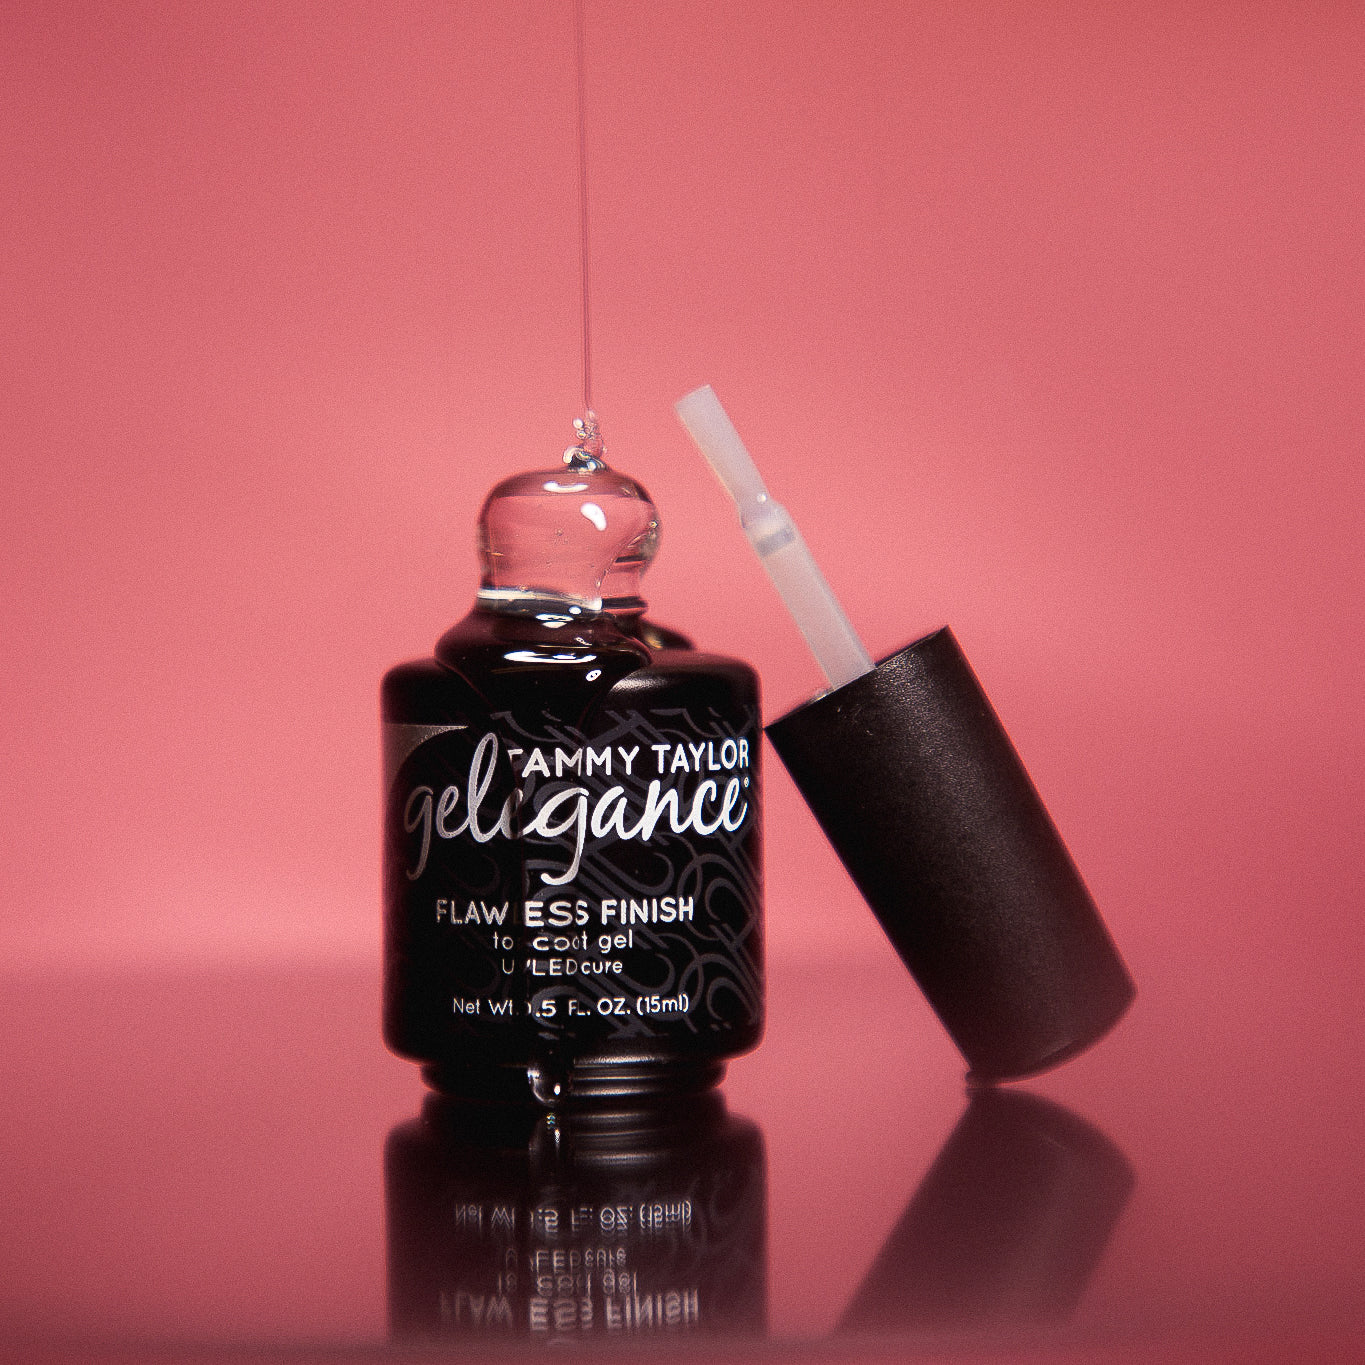
DIY Top Coat Recipes for Healthy and Strong Nails
Natural Ingredients for DIY Top Coats
Creating your own top coat can be a fun and healthy way to enhance your manicures while avoiding harsh chemicals often found in commercial products. Here are several natural ingredients you can use:
- Coconut Oil: Excellent for hydration, it helps nourish and strengthen nails.
- Olive Oil: Rich in antioxidants, olive oil helps to moisturize and promote nail health.
- Vitamin E Oil: Known for its healing properties, it can help repair damaged nails and enhance shine.
- Essential Oils: Tea tree or lavender essential oils can provide antibacterial benefits while adding a lovely fragrance.
These natural ingredients not only improve the appearance of your nails but also protect them from damage, which is essential for those who work with their hands daily.
Step-by-Step Guide to Making Your Own Top Coat
Creating your DIY top coat is simple. Here’s how to do it:
- Mix Ingredients: In a small bowl, combine 2 tablespoons of coconut oil, 1 tablespoon of olive oil, and a few drops of vitamin E oil.
- Add Essential Oils: If desired, add 3 drops of your favorite essential oil for scent and additional benefits.
- Stir Well: Mix the ingredients until well combined.
- Application: After painting your nails with color, apply a thin layer of this homemade top coat for a glossy finish. Allow it to dry naturally.
By using this DIY top coat, you can maintain healthy and beautiful nails while enjoying the satisfaction of crafting your own beauty products!

In Conclusion
Recap of Top Coats Discussed
Throughout our exploration of top coats, we’ve highlighted several noteworthy options that can elevate your manicure game. Each top coat offers unique benefits tailored to different needs:
- Seche Vite Dry Fast Top Coat: Renowned for its quick drying time and glossy finish, it creates a robust bond that helps extend the life of your manicure.
- OPI Top Coat: Offers a high-gloss protective layer that helps prevent chips, making your nails look salon-fresh for up to a week.
- CND Vinylux Top Coat: Known for its thick formula, it enhances durability and shines, giving your manicure long-lasting wear.
- Glisten & Glow: Perfect for those who prioritize quick-dry capabilities without compromising shine, it has earned rave reviews from users.
Final Thoughts on Achieving Flawless Nails
Achieving flawless nails is all about finding the right combination of products and techniques that suit your lifestyle. From maintaining healthy nail practices to selecting a top coat that meets your needs, the right choices can significantly impact the longevity of your manicures.
As one user joyfully proclaimed, finding a top coat that truly works takes the frustration out of nail care and allows you to enjoy vibrant, chip-free nails. So go ahead—explore these options, experiment with application techniques, and revel in the satisfaction of a gorgeous manicure!

Leave a Reply