Introduction
Overview of Poly Gel Nails
Poly gel nails have taken the nail art world by storm, offering a versatile and durable alternative to traditional acrylic and gel nails. This innovative hybrid combines the best traits of both acrylics and gels, resulting in a nail extension system that’s not only strong and flexible but also easy to work with. For anyone seeking an elegant manicure that can withstand the rigors of daily life, poly gel nails are a game changer. They provide a flawless finish and can be molded into various shapes, allowing creativity to flourish.
Benefits of Using Poly Gel Nail Kits
Investing in a poly gel nail kit offers numerous benefits that make it an attractive option for nail enthusiasts. Here are a few advantages:
- Durability: Poly gel nails can last up to four weeks without chipping, making them ideal for busy lifestyles.
- Odorless and Vegan: Unlike traditional acrylics, poly gel is virtually odorless and made from vegan ingredients, catering to eco-conscious users.
- Ease of Use: Many users find poly gel kits straightforward, with complete sets like those from Makartt providing all necessary tools in one package.
- Cost-Effective: Creating stunning nails at home can save money compared to frequent salon visits, particularly ideal for those on a budget.
With these benefits, it’s no wonder that many are considering transitioning to poly gel nails for both convenience and style.
Understanding Poly Gel Nails
Differences Between Poly Gel and Acrylic Nails
When it comes to nail enhancements, understanding the distinctions between poly gel and acrylic nails is essential for anyone considering a new manicure option. Many individuals, like those on forums discussing their experiences, have expressed interest in poly gel nails, particularly for their ease of use and flexibility.
Here are some key differences:
- Composition: Poly gel is a hybrid of acrylic and gel, resulting in a formulation that’s lighter and less damaging to the natural nail compared to traditional acrylics.
- Application: Acrylics require a mix of liquid and powder, which can sometimes make application challenging for beginners. In contrast, poly gel comes in a tube and is easier to apply with minimal mess.
- Flexibility: Poly gel offers more flexibility and self-leveling properties than acrylics, which may crack or break under stress, making them less forgiving for long-term wear.
By understanding these differences, you can make a more informed decision about which option suits your nail care routine.
How Poly Gel Works for Nail Extensions
Poly gel works as a revolutionary option for nail extensions. It’s applied by squeezing the gel onto a dual form or nail form and shaping it using a brush dipped in a slip solution. This unique method allows users to create desired lengths and shapes, molding the gel to their specifications.
For those contemplating the switch to poly gel, it’s worth noting that many beginners find the learning curve manageable. With complete starter kits available, inclusive of tools like a 48W LED lamp, base coat, top coat, and a variety of colorful poly gels, achieving stunning nail extensions at home becomes not only feasible but also enjoyable. Embracing this technology can truly transform one’s nail experience!
Essential Components of a Poly Gel Nail Kit
Poly Gel Tubes and Colors
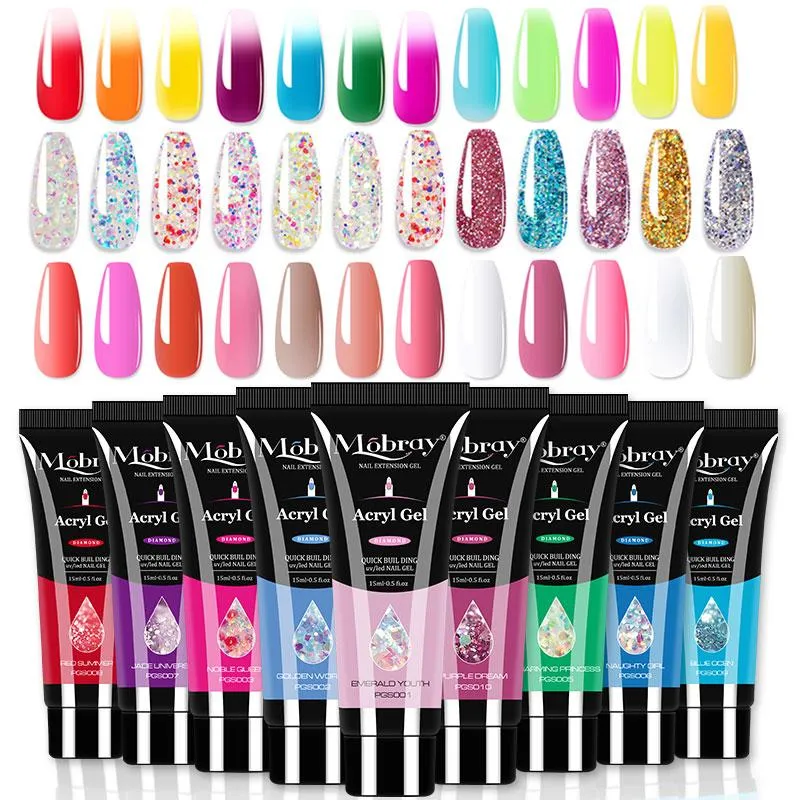
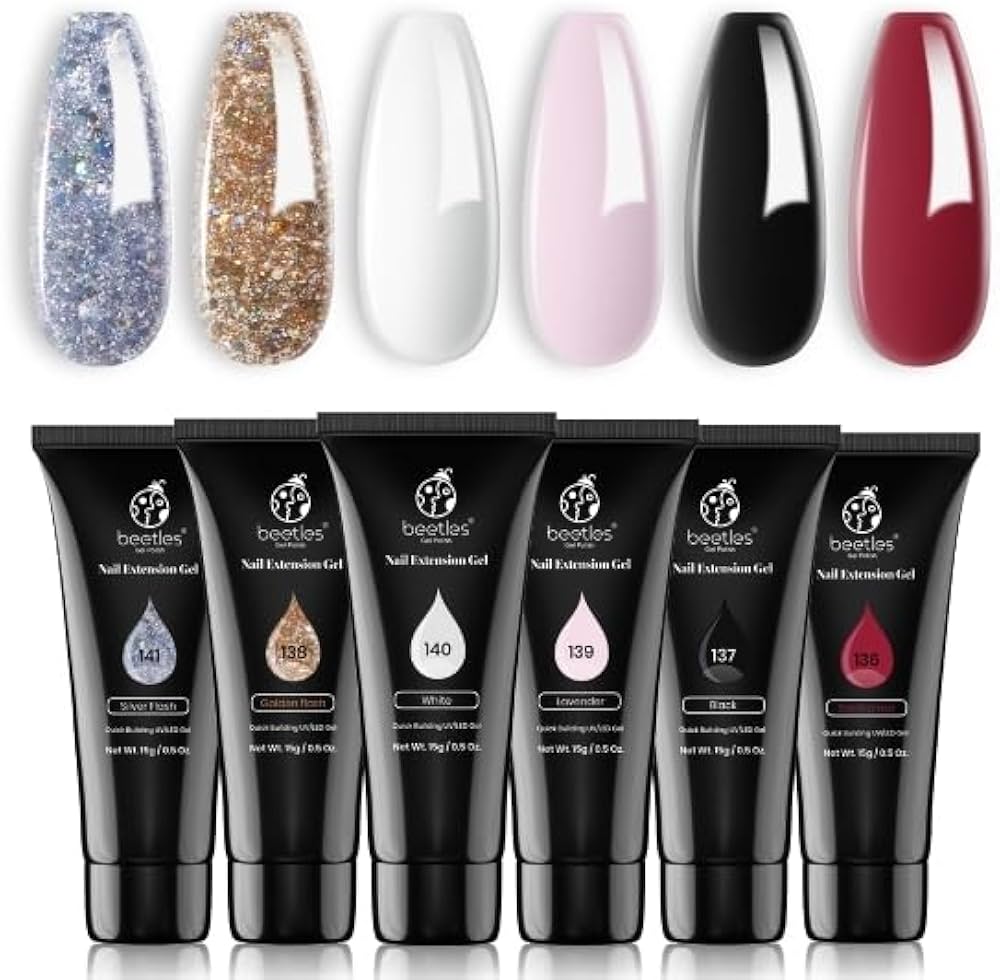
A poly gel nail kit is designed to provide you with everything you need for stunning nail extensions at home. One of the standout components is the poly gel itself. Typically offered in tubes, poly gel comes in various colors, allowing users to customize their manicures. Popular options often include:
- Classic Shades: Clear and nude tones for a natural look.
- Vibrant Colors: Bright pinks or glittering shades for a pop of color.
- Special Effects: Temperature-changing gels that alter colors with warmth or cold, adding an element of fun!
As you explore these options, many users report that the ease of application encourages their creativity and individuality.
Dual Forms and Nail Forms
Another essential element of these kits is the dual forms and nail forms. Dual forms allow you to shape the gel easily, promoting a more effortless application. With various sizes available, it caters to different nail shapes and lengths, perfect for beginners still mastering their technique.
Nail Slip Solution and Base Coat
Lastly, the nail slip solution and base coat are crucial for achieving a flawless finish. The slip solution prevents the poly gel from sticking to tools, making it easier to mold and shape. Meanwhile, the base coat ensures proper adhesion to your natural nails, enhancing durability.
With these components, a poly gel nail kit provides everything necessary for beautiful, long-lasting nails—even firsthand experiences like those shared in forums have affirmed its practicality for those on a budget looking for salon-quality results at home!
Steps to Achieve Stunning Poly Gel Nails
Prepping Your Nails
Before diving into the application process, preparing your nails is crucial for achieving that perfect, long-lasting poly gel manicure. Start by removing any old polish and gently pushing back your cuticles using a cuticle pusher. If you have weak or brittle nails, consider filing them to a manageable length. A quick buffing session can help create a smooth surface, allowing better adhesion for the poly gel.
- Tip: Make sure your nails are clean and dry before you start!
Applying the Poly Gel
Once your nails are prepped, it’s time to apply the poly gel. Begin by using a base coat to ensure the poly gel adheres properly. Squeeze a small amount of poly gel from the tube onto your dual form or nail form. Then, dip your brush into the nail slip solution, which aids in a smooth application. Use the brush to mold and shape the gel, pressing down gently until you achieve your desired look.
- Tip: Keep the slip solution handy to prevent the gel from sticking to your brush!
Shaping and Finishing Techniques
After curing your nails under an LED lamp for the recommended time, gently remove them from the forms. This is where the creativity shines—shape your nails using a file to achieve that perfect taper or square edge. Finish off with a top coat to seal the deal, and voilà! You’ve transformed your nails into stunning works of art that can last for weeks.
- Bonus: Applying a quick nail oil around the cuticle area can help maintain moisture and promote nail health.
With these steps, anyone can achieve a salon-quality finish right at home, embracing the joy of DIY nail art!

Troubleshooting Tips for Poly Gel Application
Preventing Air Bubbles
Air bubbles in poly gel nails can be frustrating, especially after spending hours on your manicure. To prevent this, start with a well-prepared nail surface by ensuring your nails are clean and devoid of any oils or residues. When applying the poly gel, use light pressure, as aggressive manipulation can introduce air. A technique I find useful is to initially apply a small amount of product and gradually build up. This allows for a more controlled application and minimizes the risk of bubbles forming.
- Quick Tip: If air bubbles appear during application, gently tap the area, or use a warm light to lightly heat the gel, which can help release trapped air.
Dealing with Lifting
Lifting can occur for several reasons, primarily due to inadequate nail preparation or poor application. If you notice lifting, don’t panic! Assess the area first and carefully file away the lifted section to avoid damaging your natural nails. Apply alcohol to clean the area, then reapply a base coat followed by your poly gel to blend it. It’s essential to maintain a gap between the gel and cuticle to prevent future lifting issues.
- Bonus Tip: Always dehydrate your nails before application with a nail cleanser to promote better adhesion!
Ensuring Longevity of Poly Gel Nails
To keep your poly gel nails lasting longer, avoid excessive pressure on your nails during daily activities, and consider using a protective top coat to seal the edges. Additionally, regular oiling of your cuticles can maintain nail health and flexibility, which helps prevent breakage. A helpful tip is to occasionally reinforce your poly gel with a quick touch-up before your next full application.
By following these troubleshooting tips, you can enhance your experience and ensure your poly gel manicure remains flawless for weeks to come!
Exploring Nail Art Techniques with Poly Gel
Ombré and Gradient Designs
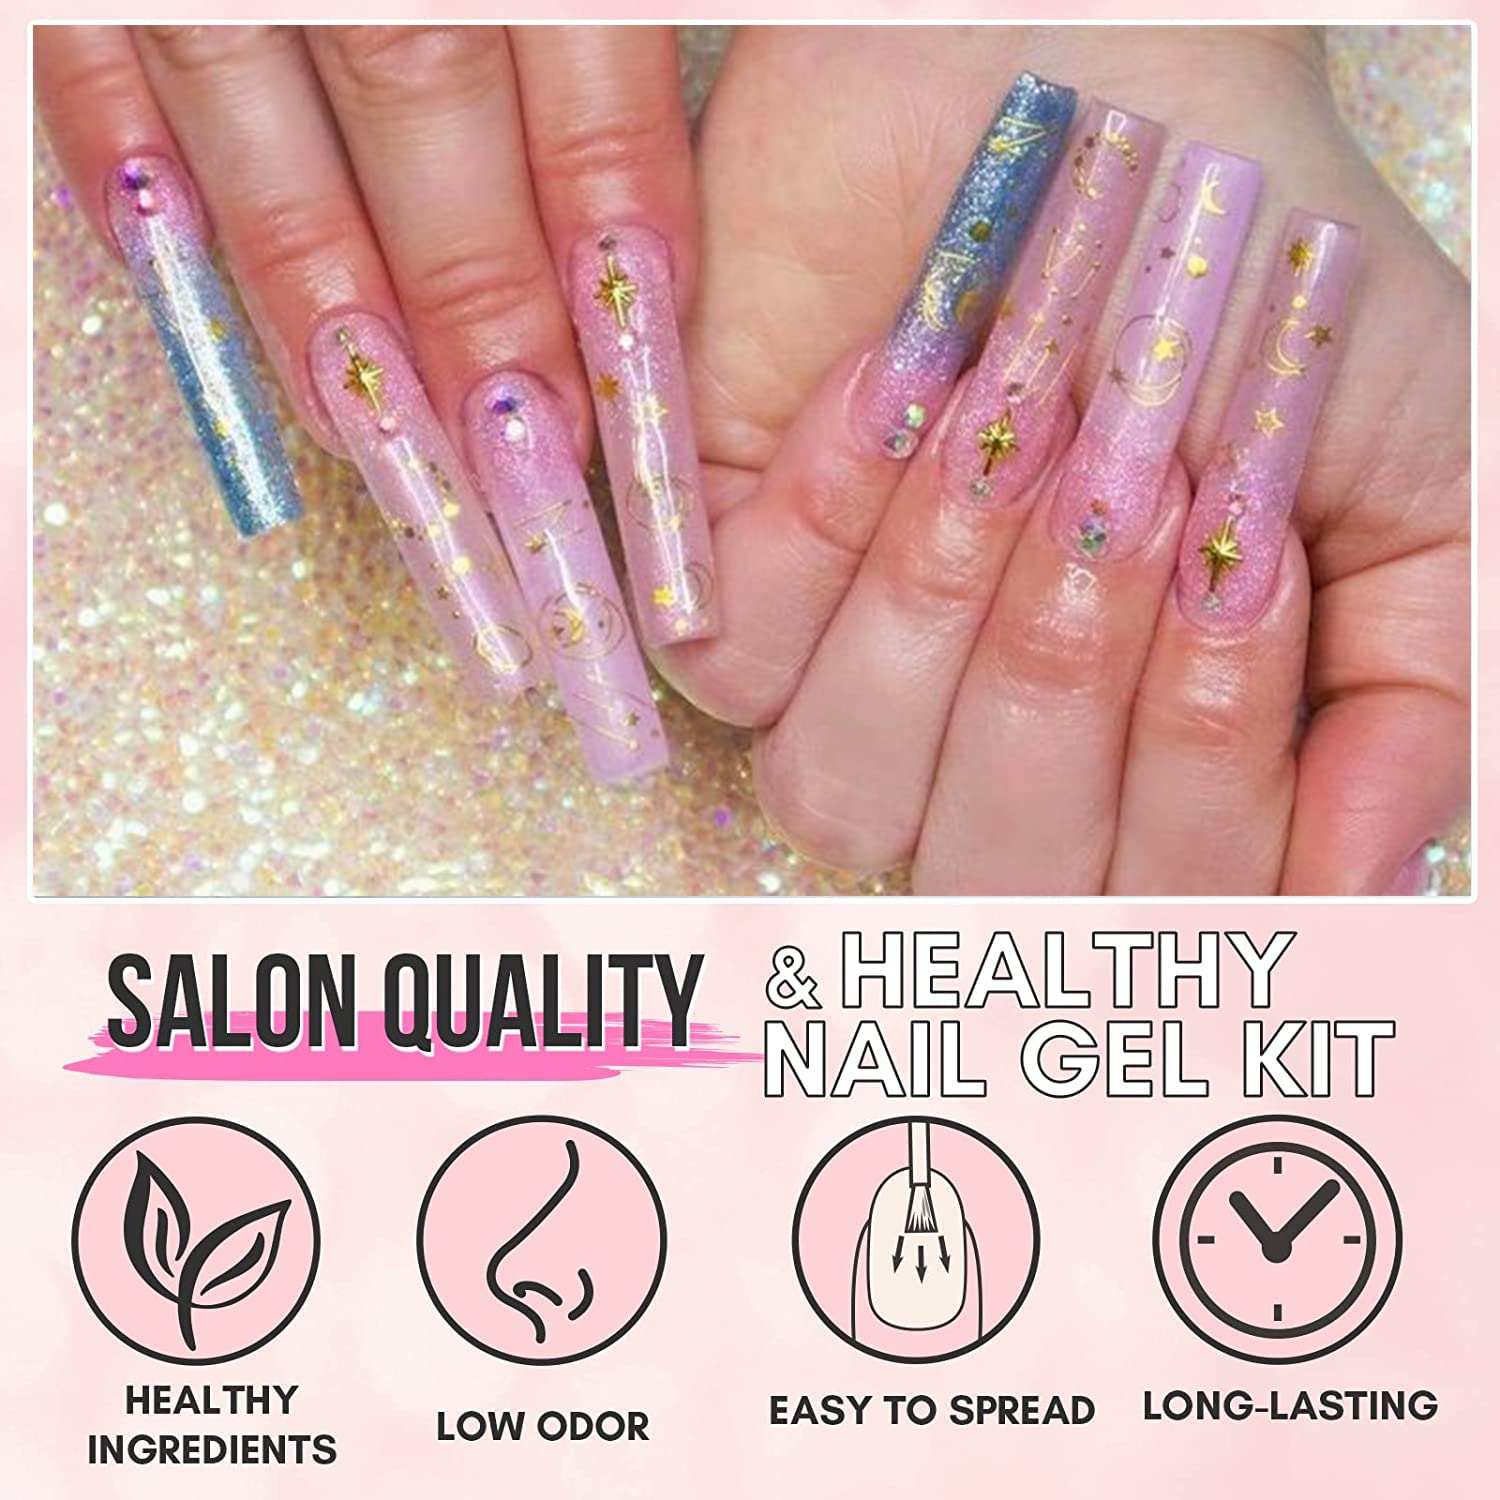
One of the most popular trends in nail art is the ombré or gradient effect, and poly gel is perfect for achieving this look. The beauty of poly gel is its versatility; you can blend shades for a seamless transition. To create an ombré effect, start with a base color and apply a slightly darker or lighter shade at the tip. Using a soft brush, gently blend the colors to create a gradient.
- Tip: Utilize a small nail sponge to dab on the second color, which helps achieve a more blended and softer transition.
3D Embellishments and Rhinestones
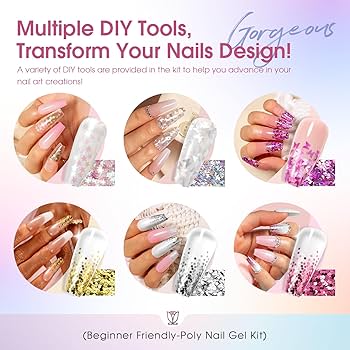
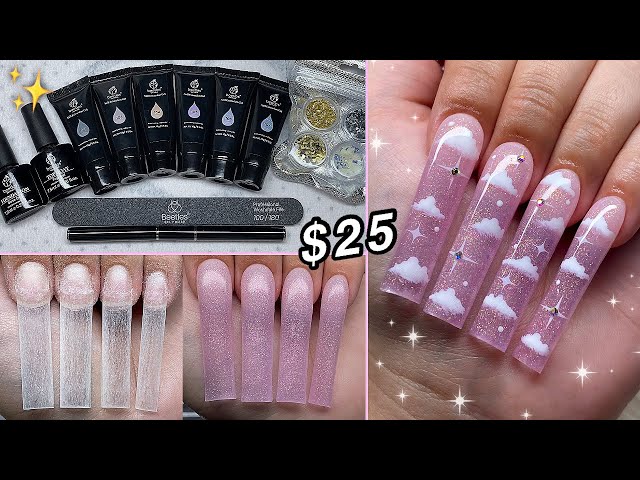
For those looking to add a touch of glamour, incorporating 3D embellishments and rhinestones into your poly gel designs can elevate the whole look. After curing your poly gel nails, apply a small dot of poly gel where you want to place the embellishments. This ensures they stay put without shifting.
- Personal Anecdote: I love adding a few rhinestones to the base of my nails for extra sparkle, and it’s amazing how a little bling can completely transform a simple manicure!
Incorporating Nail Stamps and Decals
Using nail stamps and decals is another excellent way to personalize your poly gel nails. These tools can offer intricate designs without the need for complex painting skills. Simply apply the stamp or decal after curing your poly gel, and seal with a top coat for longevity.
- Pro Tip: Ensure your base layer is fully cured before applying stickers or stamps to avoid smudging.
These techniques can not only enhance your nail art but also express your personal style, making every manicure a unique masterpiece!
Caring for Your Poly Gel Nails
Maintenance Tips
To keep your poly gel nails looking their best, regular maintenance is key. First, ensure you’re using cuticle oil daily to hydrate the nail bed and cuticles, which can prevent peeling and breakage. It’s a small step, but it makes a huge difference!
- Avoid Excessive Moisture: Try to keep your hands dry during activities like washing dishes or cleaning, as prolonged exposure to water can weaken the bond of the poly gel.
- Limit Direct Impact: Be mindful of your nails during daily tasks; activities like opening cans or typing can lead to chipping. Consider wearing gloves for added protection.
- Refilling: Keep in mind that your nails will need refilling every two weeks as your cuticles grow, making this not only a beauty routine but a necessary part of nail care.
Safely Removing Poly Gel
When it’s time for a fresh set or your nails need a break, proper removal is critical. Start by gently filing away the top layer of your poly gel to break the seal and ensure a smoother removal.
- Soak Method: Use acetone to soak your nails for about 10-15 minutes, then use a wooden stick to gently push off the gel. Avoid forceful scraping, as this can damage your natural nails.
- Aftercare: Post-removal, nourish your nails with a hydrating nail serum or cuticle oil to bring back moisture.
With these care instructions, you can enjoy stunning, lasting poly gel nails while keeping your natural nails healthy!

Conclusion
Recap of Poly Gel Nail Kit Benefits
As we wrap up our exploration of poly gel nails, it’s clear that investing in a poly gel nail kit offers numerous advantages. For those looking for a budget-friendly alternative to salon visits, poly gel provides the durability and aesthetic of acrylics with the added flexibility of gels. Here are some key benefits to remember:
- Cost-Effective: A one-time investment in a starter kit can save you money compared to regular salon trips, especially for those with busy schedules or tight budgets.
- Ease of Use: With tools and guides readily available, even beginners can achieve salon-quality results at home.
- Longevity and Flexibility: Poly gel nails typically last 3-4 weeks and are less harsh on your natural nails than traditional acrylics.
- Variety of Options: With a myriad of colors and techniques—from ombré effects to 3D designs—poly gel allows for unlimited creativity.
Embracing Your Nail Art Creativity
Embracing the world of poly gel nails means unleashing your inner artist! The hands-on process encourages experimenting with colors, styles, and techniques that can be as unique as you are.
- Try Something New: Whether you’re mastering the traditional nail extension or venturing into intricate nail art, there’s so much room to grow.
- Personal Satisfaction: Achieving beautiful nails on your own is incredibly rewarding, and sharing that accomplishment with friends (or even online) can be a confidence booster.
So grab your poly gel kit, and let your creativity flow—your perfect set of nails awaits!

Leave a Reply